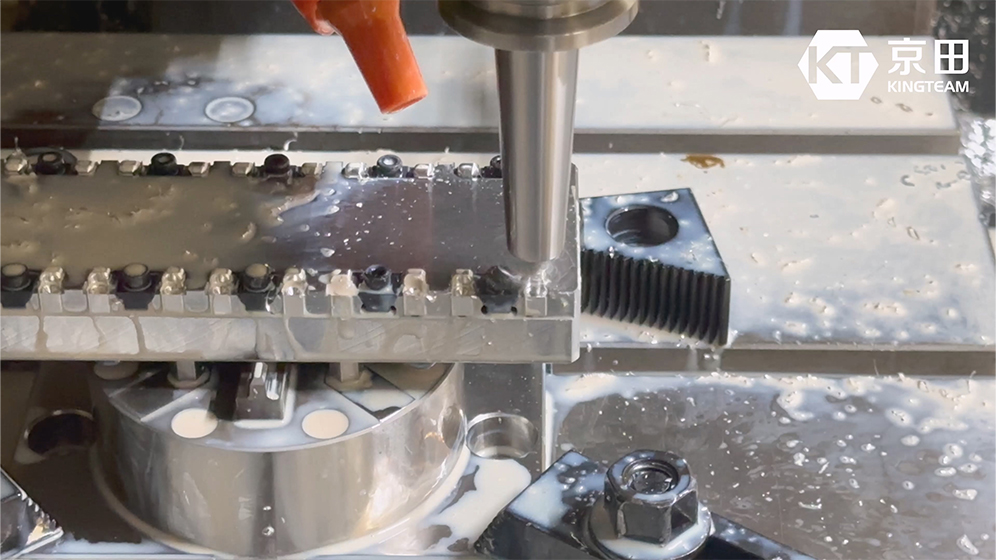
Today, we’re performing a second machining operation on the aluminum parts from our previous video. We’ve created a custom fixture that allows us to machine 20 precision parts in a single batch.

This is the surface roughness of our freshly machined part. A smoother surface (lower roughness) means slower wear and longer product lifespan.

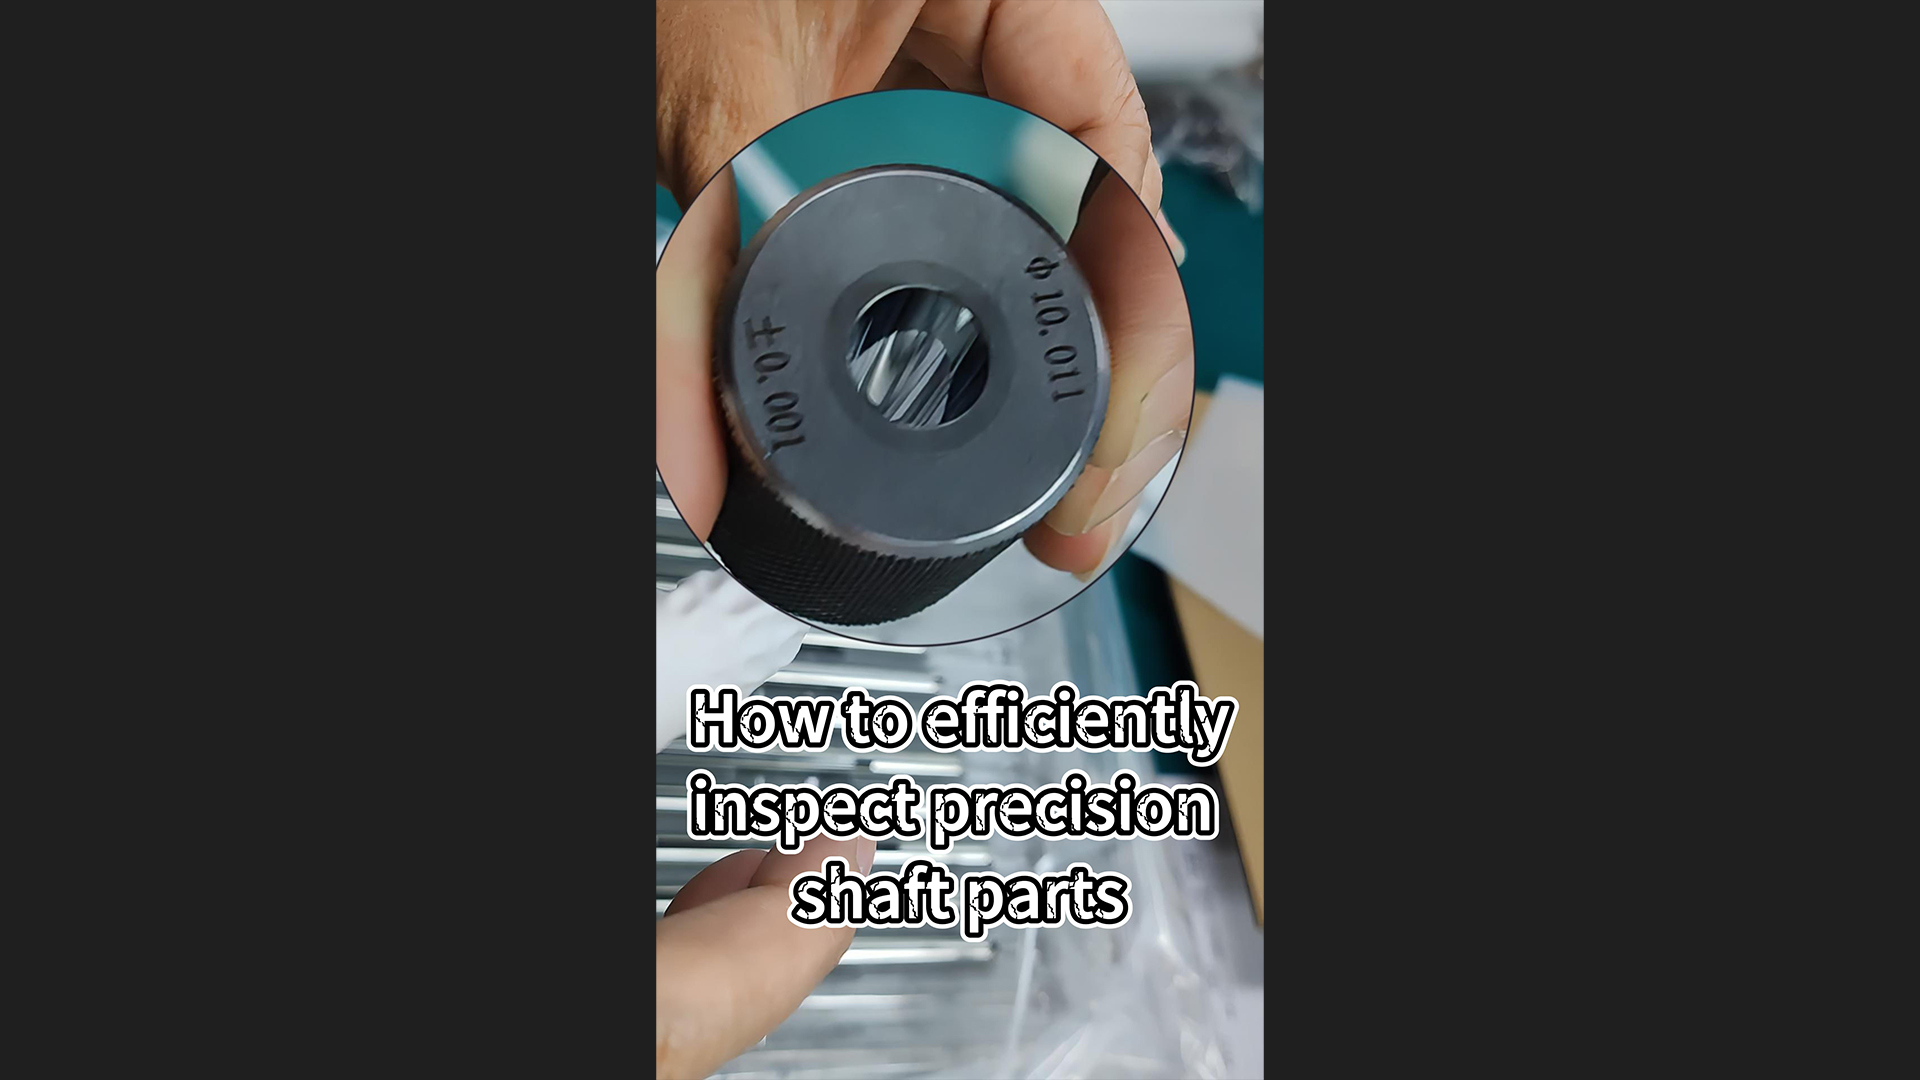
Plain ring gauges are not only capable of checking tolerances as tight as ±0.0002"(±0.005mm), but they’re also incredibly fast and efficient. They’re perfect for first-article inspection (FAI), in-process checks, and final inspection on production lines.